The Step-by-Step Installation Guide
The Step-by-Step Installation Guide
⚠️ Safety First: Disconnect the negative terminal of your vehicle's battery before you start messing with any wiring. Let's keep those sparks where they belong—on the trail!
Step 1: Mock-Up and Measure
This is the most critical step for a clean look. Place your light bar on the roof and use the painter's tape to mark where the brackets will go. Ensure it's centered and positioned where it won't interfere with your radio antenna or sunroof (if you have one). Have your friend help you sight it from the front to make sure it's perfectly straight.
Step 2: Drill with Confidence (or Use Existing Rails)
If you have roof rails: You might be able to use existing holes or brackets—this is the easiest and least invasive method.
If you're drilling: Use the marks from Step 1. Start with a small pilot bit and work your way up to the size required for your mounting bolts. PRO TIP: Apply a dab of touch-up paint or silicone sealant on the bare metal edges of the new holes to prevent rust.
Step 3: Mount the Brackets and Bar
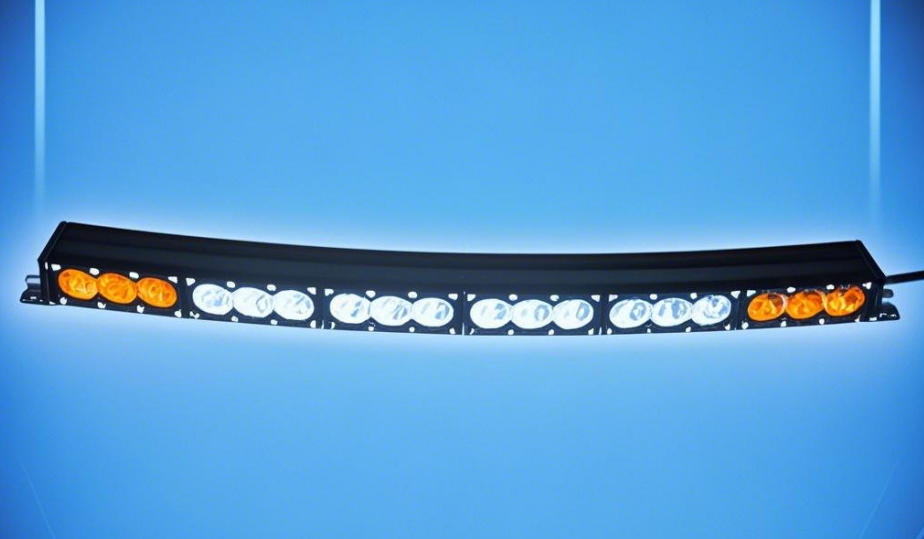
Secure the mounting brackets to the roof using the bolts, washers, and locknuts provided. Make sure they're torqued down tight—nobody wants a loose light bar at 50 MPH! Once the brackets are solid, carefully lift and secure your FOKE light bar onto them.
Step 4: Run the Wires Like a Pro
This is the stealth part. You need to run the wiring harness from the light bar into the engine bay.
Find a Grommet: Look for an existing rubber grommet in the firewall (the wall between the passenger cabin and the engine bay) where other wires pass through. You can often poke a small hole in this grommet to feed your wires through without harming anything.
Route to the Switch: Run the switch wire from the harness through your dashboard and mount the switch in a convenient, accessible spot.
Step 5: Wire It Up
Follow the instructions on your specific wiring harness. The general setup is:
Red Wire (Power): Connect to the positive terminal of your battery.
Black Wire (Ground): Connect to a clean, unpainted metal part of the chassis.
White Wire (Switch): Connect to your auxiliary switch or the included dashboard switch.
Blue Wire (Relay Trigger): Connects to the switch power.
Double-check all connections, use heat shrink tubing for clean, waterproof seals, and secure all loose wires with cable ties away from hot or moving parts.
Step 6: Power Up and Test!
Reconnect your battery terminal. Turn on your truck and flip the switch! You should be greeted by a glorious wall of light. Do a happy dance—you've earned it.
Why a FOKE Light Bar Makes Your DIY Job Easier
At FOKE Lighting, we know you'd rather be driving than wrenching. That's why our 4X4 LIGHT BARS are designed with the DIYer in mind. They come with robust, easy-to-adjust mounting kits and clear instructions. Our harnesses are often plug-and-play, taking the guesswork out of wiring.
When you choose a FOKE bar, you're not just getting insane lumen output and rugged, weatherproof construction; you're getting a product that’s built to be installed and enjoyed without the hassle.
How High-Performance Oval LEDs Boost Nighttime Farming Efficiency & Safety
How Chinese LED Makers Are Seizing APAC’s $5B Opportunity
Related Article